第一步我们要设置Startup.cs->ConfigureServices,代码如下
 services.AddAuthentication(CookieAuthenticationDefaults.AuthenticationScheme).AddCookie(options => //认证相关,
            {

                options.LoginPath = "login"; //没得到认证跳转的地址

            })
这里是添加认证服务,当然有一些.net版本它在开发的时候是直接在Program.cs配置这些信息的,根据开发时候得代码自己看了。
第二步添加中间件 位置Startup.cs->Configure
App.UseAuthentication();//认证
app.UseAuthorization();//授权
这2个东西不仔细看还挺像的,反正都添加上把!如果是在Program.cs里配置这些信息的话给一个完整的代码把!
Var builder = WebApplication.CreateBuilder(args);
builder.services.AddAuthentication(CookieAuthenticationDefaults.AuthenticationScheme).AddCookie(options => //认证相关,
{

    options.LoginPath = "/login"; //没得到认证跳转的地址

});
var app = builder.Build();
app.UseAuthentication();//认证
app.UseAuthorization();//授权
第三步提交数据到后台进行认证
var claims = new List<Claim>(){
  new Claim(ClaimTypes.Name,adminUser.ElementAt(0).Username),
 new Claim(ClaimTypes.Role, adminUser.ElementAt(0).Tips),
 new Claim("json",My.Stringify(adminUser.ElementAt(0)))//My.Stringify是我自己定义的,用来把对象转换为字符串
};
var userPrincipal = new ClaimsPrincipal(new ClaimsIdentity(claims, "Customer"));
HttpContext.SignInAsync(CookieAuthenticationDefaults.AuthenticationScheme, userPrincipal, new AuthenticationProperties
{
  ExpiresUtc = DateTime.UtcNow.AddMinutes(360),
 IsPersistent = false,
 AllowRefresh = false
})泛型Claim是用来保存用户信息的,ClaimTypes.Name是用户名,ClaimTypes.Role是角色,我这里的角色名字是Admin。HttpContext.SignInAsync 里3个配置ExpiresUtc是过期时间 IsPersistent是表示cookie是否是持久化,如我们常用的记住我这种功能就可以选择True,我这里是选择Flase。AllowRefresh等于True的时候,如果在超过ExpiresUtc里规定的时间的50%,那么将延长登录时间。
使用方法如下图
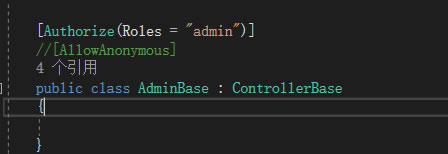
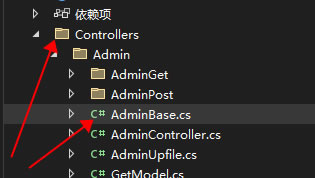
使用特性[Authorize(Roles = "admin")],admin角色设置请参考第三步,那么在AdminBase下的内容只能是角色admin才能访问到。如果是设置为[AllowAnonymous]那么任何角色都能访问到。在mvc里该文件路径示例如下图
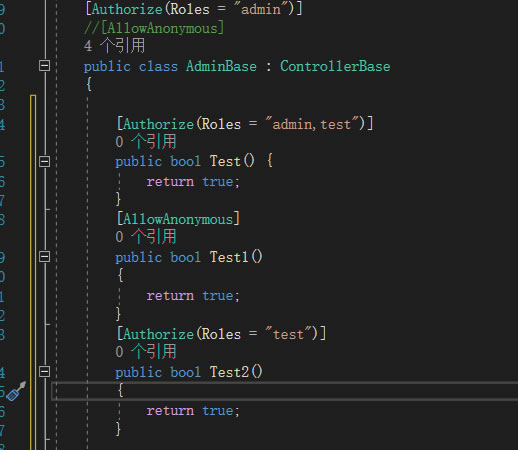
当然,我们还可以针对某一项进行单独的授权认证,如下图
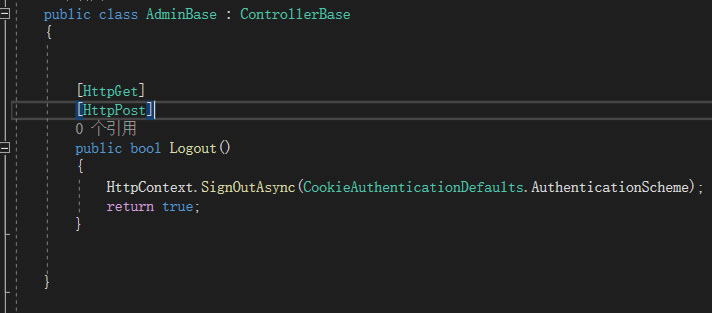
Cookie认证退出的代码
HttpContext.SignOutAsync(CookieAuthenticationDefaults.AuthenticationScheme);
应用在后台如下图